Homemade Ice Cream Without an Ice Cream Maker
Who doesn’t love a refreshing scoop of homemade ice cream on a hot summer day? But the thought of having to buy an expensive ice cream maker and going through the lengthy process of churning and freezing can be daunting for many. What if we told you that you can make delicious homemade ice cream without an ice cream maker? Yes, it’s possible, and we are here to share our tried and tested recipe. So, put on your aprons and get ready to satisfy your sweet cravings with our homemade ice cream without an ice cream maker recipe.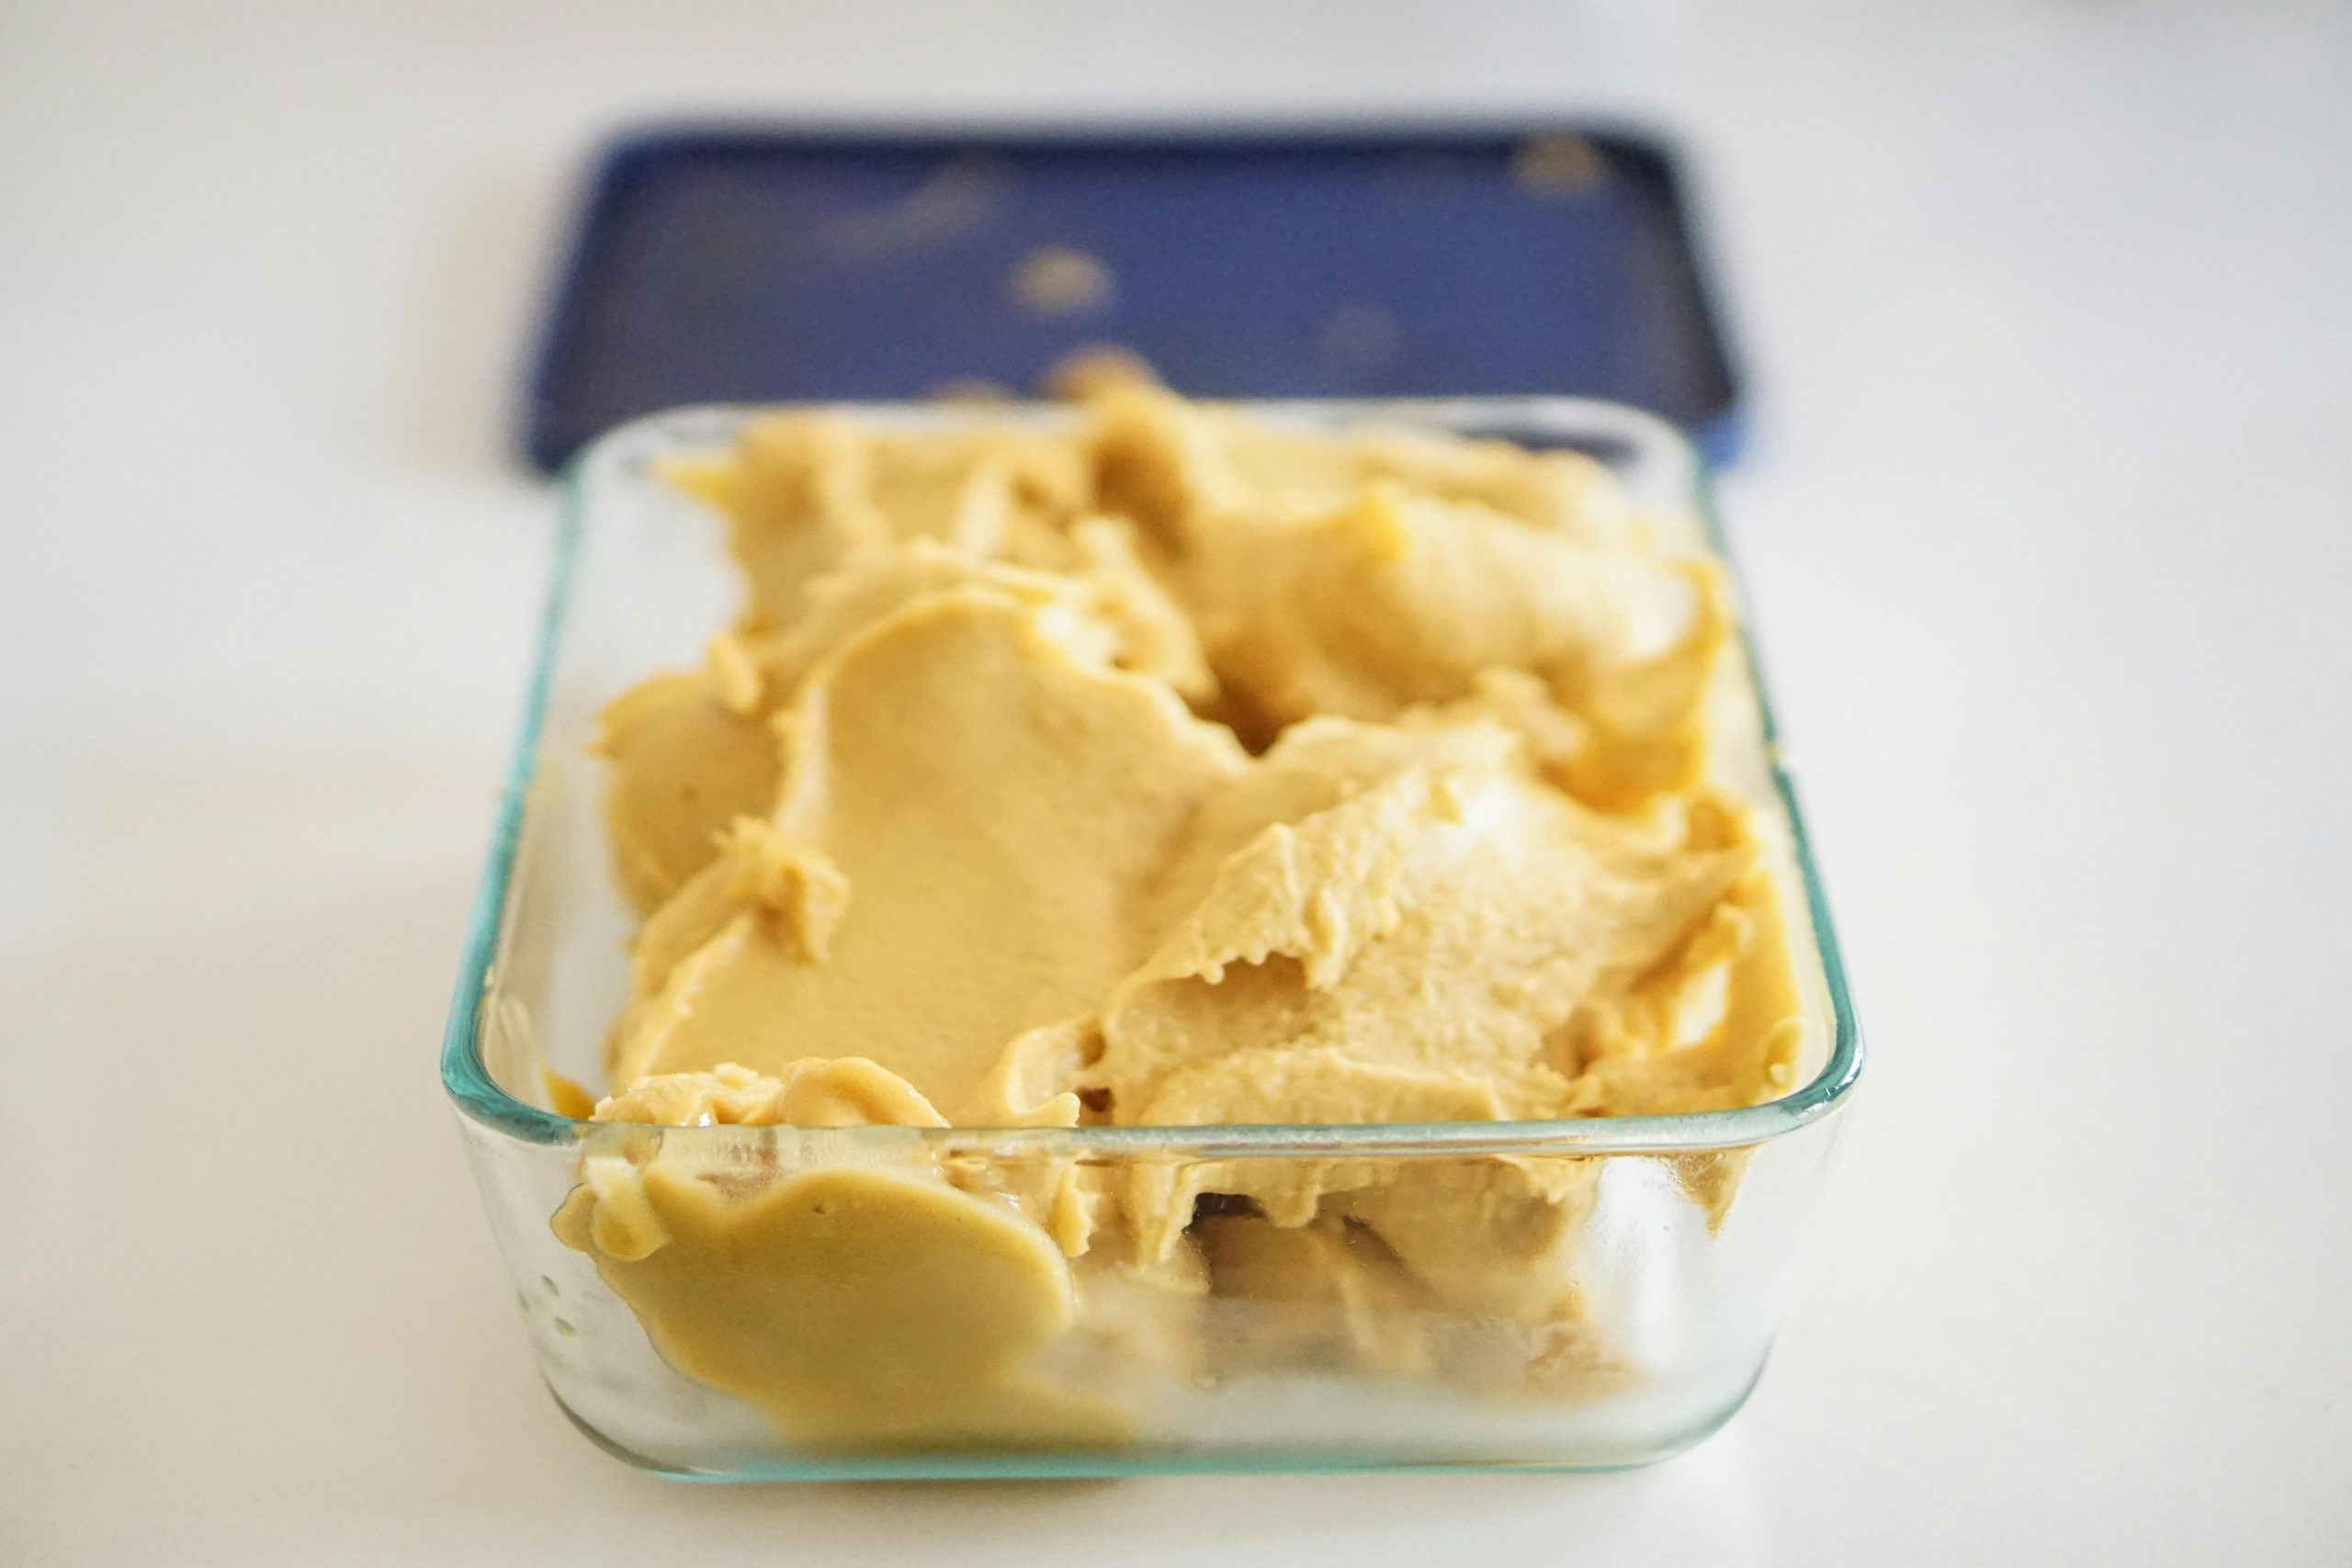
The Science of Making Ice Cream
Before we dive into the process of making ice cream without an ice cream maker, let’s understand the science behind it. Ice cream is a frozen dessert made from a combination of cream, milk, sugar, and other flavorings. One of the key ingredients in ice cream is air. When the ice cream mixture is churned, it incorporates air into it, making the ice cream light and fluffy. This is why ice cream makers have a paddle that constantly rotates and beats air into the mixture. Without an ice cream maker, you can still achieve the same fluffy texture by using a similar technique, which we will discuss in detail below.
Ingredients You’ll Need
The ingredients for homemade ice cream without an ice cream maker are simple and easily available in most kitchens. Here’s a list of ingredients you’ll need:
Heavy Cream
Heavy cream is the key ingredient for making ice cream without an ice cream maker. It has a high fat content, making the ice cream rich and creamy. Make sure to use heavy cream with a minimum of 36% fat.
Condensed Milk
Condensed milk is a staple pantry ingredient for many, and it helps to make your ice cream smooth and creamy. It is especially important for our recipe since we won’t be using an ice cream maker.
Vanilla Extract
Vanilla extract adds a delicious flavor to your homemade ice cream. You can also opt for other flavorings such as chocolate chips, crushed cookies, or fruit puree to create different variations of ice cream.
Salt
In traditional ice cream makers, salt is used to lower the freezing point of the ice mixture. Since we are not using an ice cream maker, we will use salt to help freeze the ice cream mixture faster.
Step-by-Step Instructions
Step 1: Prepare the Ice Cream Mixture
In a mixing bowl, whisk together the heavy cream, condensed milk, and vanilla extract until well combined. If you’re adding any additional flavors, now is the time to mix them in. You can also adjust the amount of condensed milk according to your preference for sweetness.
Step 2: Whip the Mixture
If you have an electric hand mixer, use it to whip the ice cream mixture until it forms stiff peaks. If not, you can use a whisk, but it may take longer. The key is to keep whipping until the mixture is light and fluffy to help incorporate air into it.
Step 3: Prepare the Ice Cream Container
Choose a container to freeze your ice cream in. It can be a loaf pan, a large freezer-safe bowl, or even a mason jar. Make sure to lightly grease the container to prevent the ice cream from sticking to the sides. Then, sprinkle a layer of salt at the bottom of the container. Place the container in the freezer for about 15 minutes, or until it’s cold.
Step 4: Freeze the Ice Cream
Remove the container from the freezer and pour the whipped ice cream mixture into it. Smooth out the surface to prevent ice crystals from forming. Cover the container with plastic wrap, making sure it touches the surface of the ice cream. Seal the container with a lid or aluminum foil and place it back into the freezer.
Step 5: Stir and Freeze
After an hour, take the container out of the freezer and uncover it. Use a spoon or spatula to stir the ice cream, breaking up any ice crystals that may have formed. Then, cover the container again and place it back into the freezer. Repeat this process every hour for about 4-5 hours, or until the ice cream is firm and scoopable.
Step 6: Serve and Enjoy
Congratulations, you have successfully made homemade ice cream without an ice cream maker! When ready to serve, let the ice cream soften at room temperature for a few minutes before scooping. Enjoy your delicious, creamy, and homemade treat any time!
Final Thoughts
Making ice cream without an ice cream maker may require some extra effort, but trust us, the end result is worth it. This recipe is also a great activity to do with kids, and they’ll love getting creative with different flavors. So, the next time you’re craving ice cream, don’t hesitate to try this homemade ice cream without an ice cream maker recipe. Your taste buds will thank you!